Preventing Blisters on Long-Distance Hikes
Blisters are a hiker’s worst enemy, causing many to abandon their long-distance treks. As someone who’s…
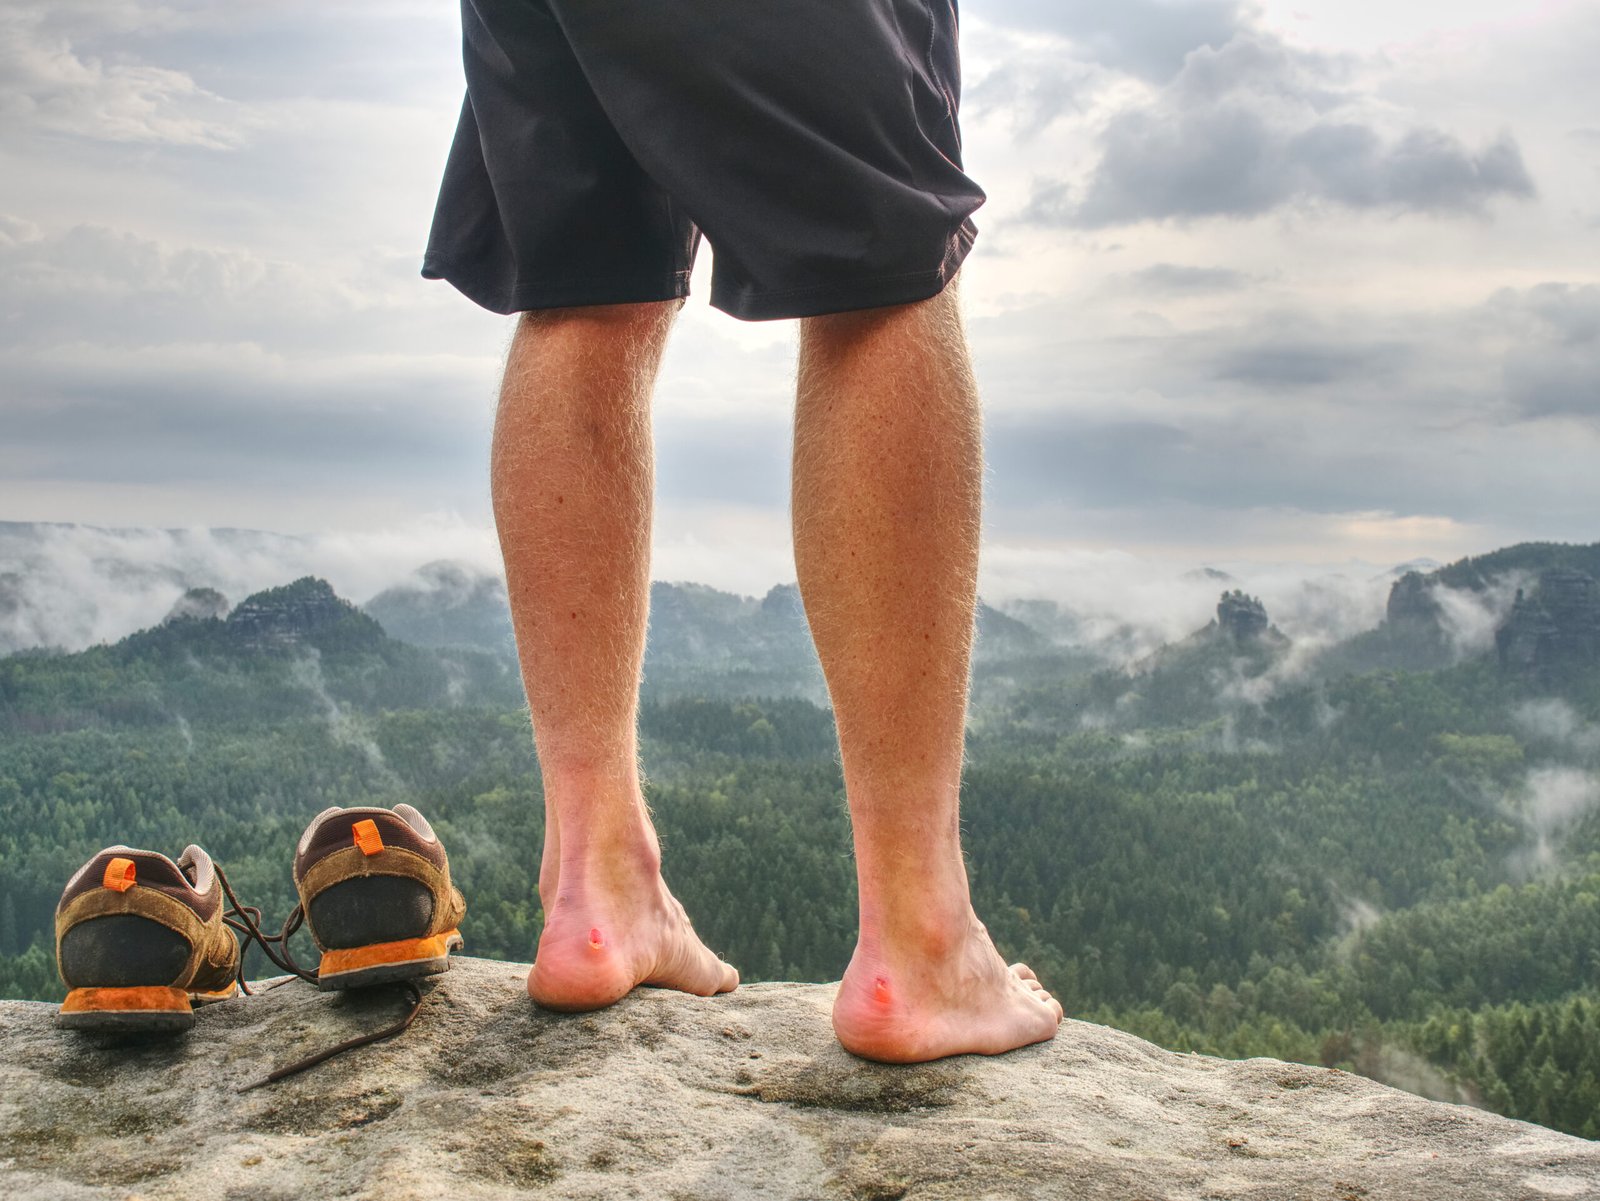
Blisters are a hiker’s worst enemy, causing many to abandon their long-distance treks. As someone who’s suffered from blisters multiple times, I’ve learned that prevention is key. Blisters form due to a combination of friction, moisture, and heat on the skin, particularly on the feet.
The first few days of a long-distance hike are critical, with most blisters developing on day two. Proper footwear and socks can make a significant difference. Understanding the causes of blisters and taking preventative measures can ensure a successful and enjoyable hiking experience.
By addressing factors such as friction, moisture, and heat, hikers can reduce the risk of blister formation. This comprehensive guide will cover essential tips and strategies for preventing blisters and keeping your feet healthy throughout your hike. Let’s discuss Preventing Blisters on Long-Distance Hikes.
Understanding the Science Behind Hiking Blisters
Understanding the science behind hiking blisters is crucial for preventing them on long-distance hikes. Blisters are a common issue for hikers, causing discomfort and pain that can ruin an otherwise enjoyable experience.
What Really Causes Blisters?
Blisters are often misunderstood as being caused by simple friction or rubbing. However, the actual cause is more complex. They are primarily caused by shear forces that result from the skin stretching back and forth, a phenomenon known as shear deformation. This occurs when the layers of skin move against each other due to the foot moving within the shoe, creating microscopic tears that eventually fill with fluid.
Why the First Few Days of a Hike Are Most Critical
The first few days of a long-distance hike are the most critical in terms of blister formation. Research indicates that the majority of blisters occur on the second day of a hike. This is because the feet are not yet adapted to the increased activity and pressure. Understanding this can help hikers take preventive measures early on.
| Day of Hike | Likelihood of Blister Formation | Prevention Tips |
|---|---|---|
| Day 1 | Low | Ensure proper footwear fit, use moisture-wicking socks |
| Day 2 | High | Monitor for hot spots, apply blister prevention products |
| Day 3+ | Moderate | Continue monitoring, adjust footwear and socks as needed |
Choosing the Right Footwear for Blister Prevention
Selecting the right footwear is a critical step in preventing blisters during long-distance hikes. The debate between traditional hiking boots and trail runners centers around fit, weight, and drying time.
Finding Boots and Trail Runners That Fit Properly
When selecting hiking footwear, prioritize proper fit over brand name or style. Your toes should have adequate room to wiggle, and your heel should be secure without slipping. It’s recommended to purchase hiking footwear a half to full size larger than your street shoes to accommodate foot swelling that naturally occurs during long hikes, especially at higher altitudes.
The toe box of your hiking footwear should be wide enough to prevent toe compression, which can lead to painful blisters between and on top of toes. Ensuring a comfortable fit is crucial for preventing friction and hot spots that can develop into blisters.
The Importance of Breaking in Your Hiking Footwear
Breaking in your footwear before a long-distance hike is essential, even with modern boots that claim to require no break-in period. This helps to identify and address any potential fit issues before they become major problems on the trail.
Waterproof vs. Quick-Drying Options
Consider the terrain and weather conditions of your planned hike when choosing between waterproof boots and quick-drying trail runners. Waterproof footwear keeps external moisture out but can trap sweat inside, while quick-drying options may let water in but dry faster—both factors affect blister formation.
The Ultimate Sock Strategy for Blister-Free Hiking
A well-planned sock system can make all the difference on long-distance hikes. By choosing the right socks and wearing them correctly, hikers can significantly reduce the risk of blisters.
Why Two Pairs Are Better Than One
The two-sock system is a game-changer for hikers. By combining thin liner socks with cushioned outer socks, you create a friction layer between fabrics rather than between sock and skin, dramatically reducing blister formation. This simple yet effective technique is a must-try for anyone looking to prevent blisters on their hikes.
Liner Socks: Your First Line of Defense
Liner socks are a crucial component of the two-sock system. They should be thin, moisture-wicking, and form-fitting. Toe socks like Injinji are particularly effective at preventing toe blisters by eliminating skin-to-skin contact. When choosing liner socks, look for materials that wick moisture and dry quickly.
Outer Socks: Materials and Features That Matter
Outer socks provide cushioning and protection, making them a vital part of the sock system. Merino wool blends are the gold standard due to their natural antimicrobial properties, temperature regulation, and moisture management. When selecting outer socks, consider the thickness and features that will best suit your hiking needs.
By investing in high-quality hiking socks and implementing the two-sock system, hikers can enjoy blister-free hiking experiences. Remember to choose socks that fit snugly, wick moisture, and have hidden seams to minimize friction and discomfort.
Preventative Measures Before Your Hike
Preparing your feet and gear in advance is key to preventing blisters during long hikes. A well-structured pre-hike routine can significantly enhance your hiking experience by minimizing the risk of foot-related issues.
Building Up Mileage Gradually to Toughen Feet
Conditioning your feet before a long-distance hike is crucial. Gradually increase your training miles by no more than 20% per week to build skin resilience without causing damage. This gradual build-up helps your feet get accustomed to the demands of hiking, thereby reducing the risk of blisters.
Pre-Taping Vulnerable Areas
Identifying and pre-taping known blister-prone areas with specialized tape like Leukotape or KT Tape provides a protective barrier that can prevent hot spots from developing. Your past blister history is a valuable guide; areas that have blistered before are likely to blister again unless preventative measures are taken.
The Foot Powder Technique
Applying foot powder (like Gold Bond) before putting on socks helps reduce moisture and friction, particularly effective for hikers with naturally sweaty feet. For more detailed information on managing blisters, visit our comprehensive guide on blister management for hikers.
Preventing Blisters on Long-Distance Hikes During Your Trek
Blisters can quickly turn a dream hike into a painful ordeal, making prevention crucial. During your trek, it’s essential to be proactive about blister prevention to ensure a comfortable and enjoyable hiking experience.
Recognizing and Addressing Hot Spots Immediately
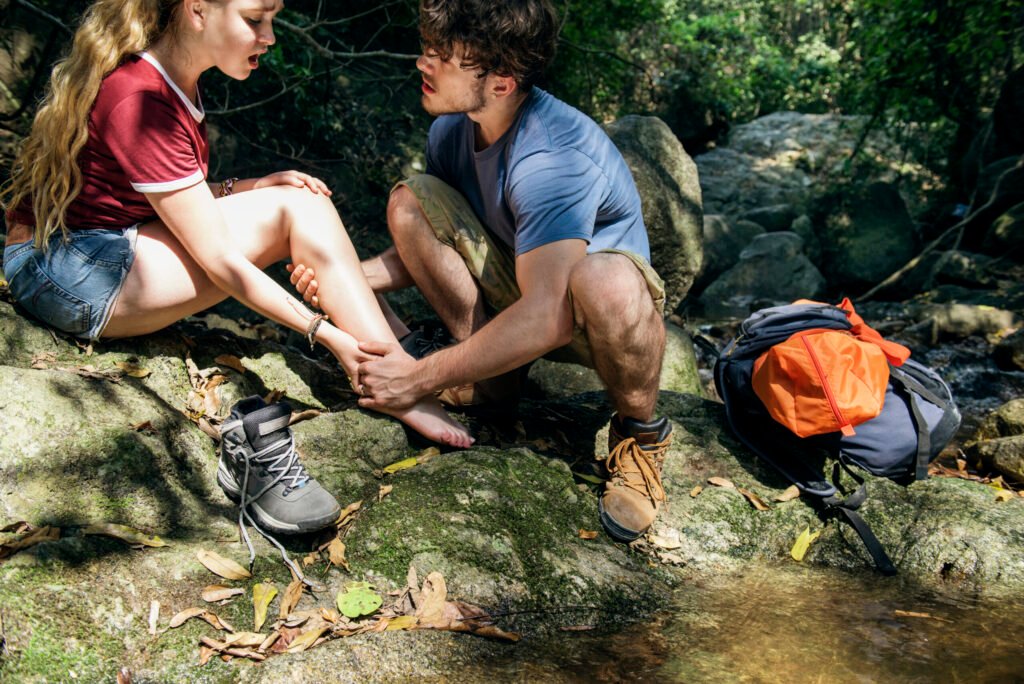
Vigilance is key during your hike—pay attention to any unusual sensations in your feet and address them immediately before they develop into painful blisters. If you start feeling heat or discomfort on your foot, chances are a hot spot is starting to form, and you should stop immediately to deal with it.
Take your boot and sock off, and identify the area in distress. The crude yet effective way to deal with blisters or hot spots is with tape. Just put some tape over the area, put your sock and boot back on, and get going.
Keeping Feet Dry on the Trail
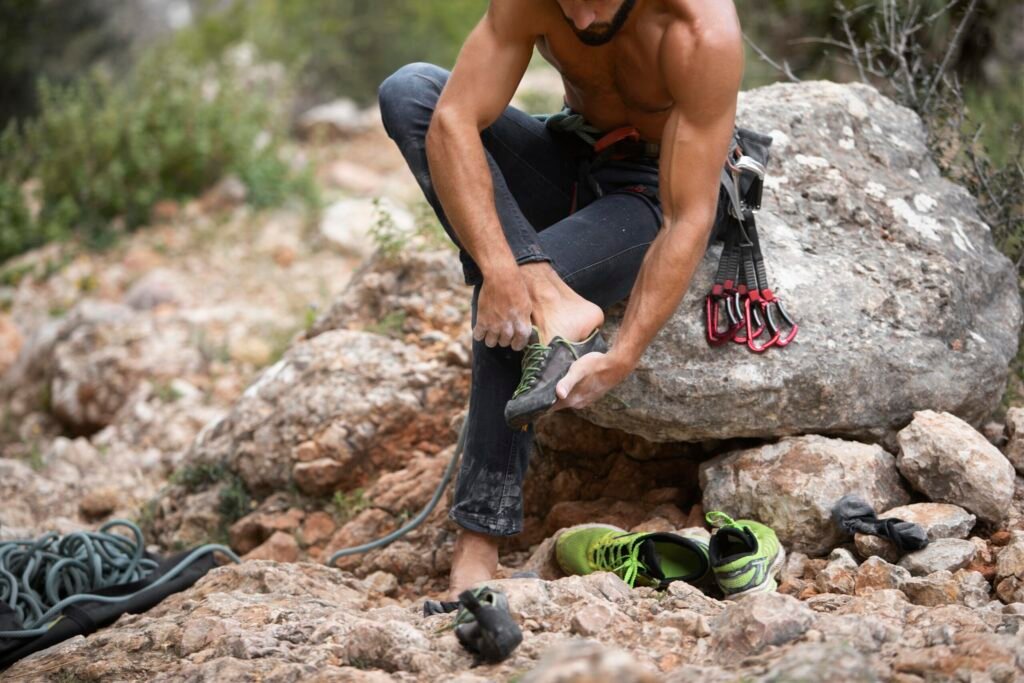
Keeping your feet dry on the trail is crucial for blister prevention. Change into dry socks when yours become wet from river crossings, rain, or excessive sweating. During breaks, remove your boots and socks to allow your feet to air dry.
This helps maintain skin integrity and prevents the maceration that leads to blisters. If you’re stopping for a longer break, taking your boots off and letting your feet air dry is also a great idea.
Using Gaiters to Keep Debris Out
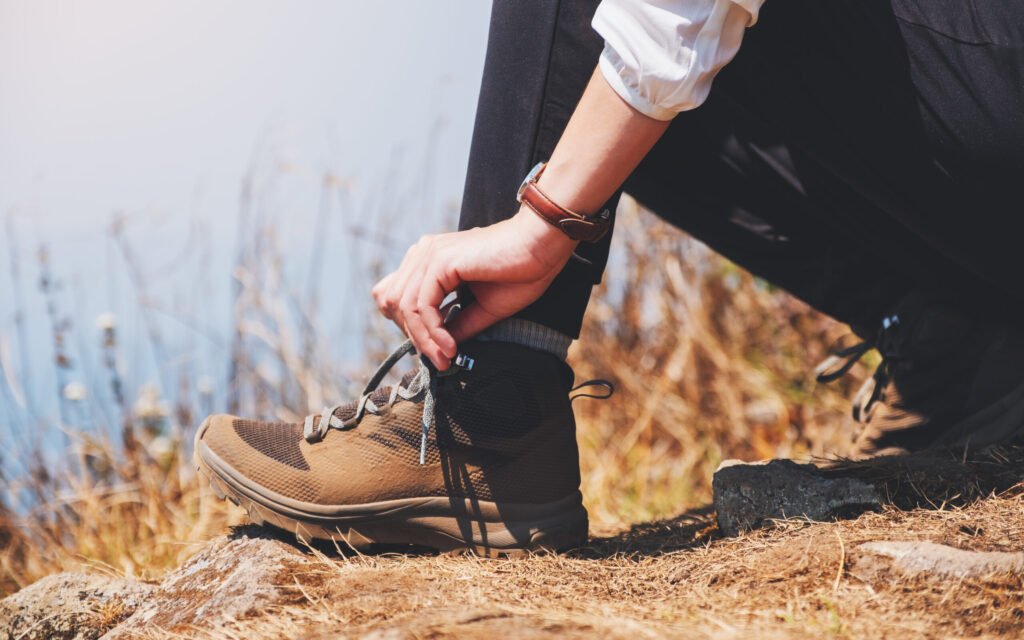
If sand, dirt, and debris get into your hiking boots, they can cause friction and then blisters. If you’re hiking in an area with a lot of loose debris on the trail, opt for a low gaiter, which is made to seal off the top of your boot from debris.
Gaiters are invaluable for keeping debris out of your footwear—even tiny particles of sand or dirt can cause significant friction and lead to blisters over time.
Treating Blisters When Prevention Fails
When prevention fails, knowing how to treat blisters is crucial. Despite taking precautions, blisters can still occur on long hikes due to friction and pressure on the skin.
The Blister First Aid Kit Essentials
Every hiker should carry a dedicated blister first aid kit containing sterilized needles, various tapes (especially Leukotape), antiseptic ointment, alcohol wipes, and blister-specific products like Compeed or hydrocolloid bandages.
To Pop or Not to Pop?
The decision to pop a blister requires careful consideration. Generally, small blisters should be left intact, while large, painful blisters that risk rupturing during hiking may benefit from controlled drainage using a sterilized needle.
Effective Taping Techniques for Active Blisters
Taping techniques vary by location—toe blisters require different approaches than heel or arch blisters. Using the right tape, such as Leukotape, can provide better adhesion with less skin trauma. Creating a “donut” of moleskin around the blister can relieve pressure.
Monitoring treated blisters for signs of infection is crucial. Increasing pain, redness, warmth, swelling, or pus require immediate attention.
Post-Hike Foot Care for Long-Term Blister Prevention
The key to enjoying multiple hiking adventures lies in the care you give your feet after each hike. Proper post-hike foot care is essential for maintaining foot health during multi-day hikes and preventing blisters on future hiking adventures.
Immediately after finishing your day’s hike, remove wet boots and socks, clean your feet with biodegradable wipes, and allow them to air dry completely before putting on camp shoes. Elevating your feet after a long day of hiking reduces swelling and helps prevent the formation of pressure points that can lead to blisters.
To keep your feet dry and reduce friction, apply foot powder to completely dry feet before sleeping. It’s also crucial to dry out your hiking footwear and socks overnight. Between multi-day hikes, allow your feet to recover completely before embarking on new adventures.
By following these steps and maintaining your footwear, you can significantly reduce the risk of blisters on your next hike.

